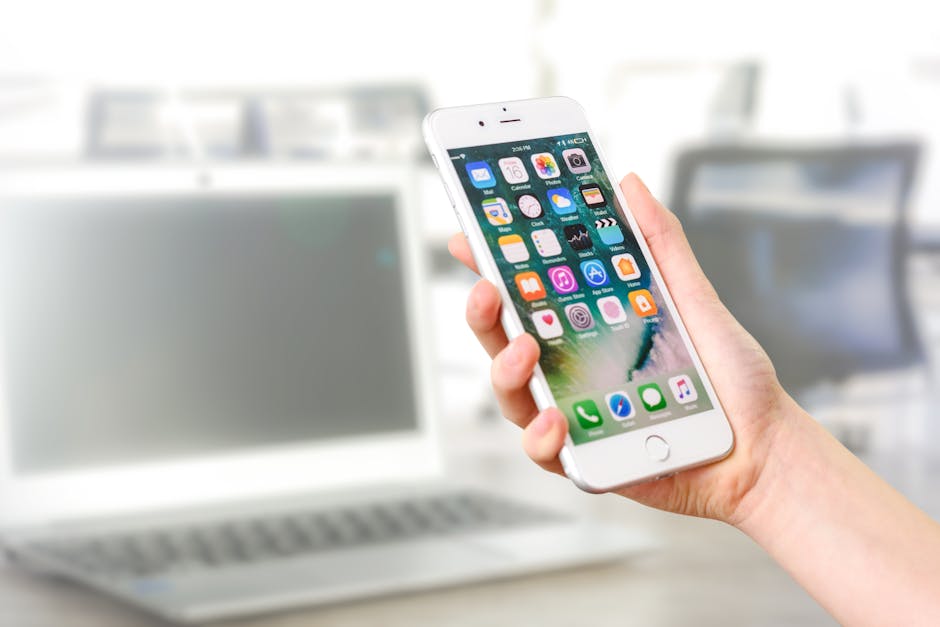
Getting a new iPhone is exciting! But before you can fully enjoy it, you need to transfer all your data from your old iPhone. Don’t worry, transferring your iPhone data doesn’t have to be a headache. This guide will walk you through several methods to seamlessly transfer your iPhone to iPhone, ensuring you don’t lose any precious photos, contacts, or apps.
Preparing for Your iPhone Data Transfer
Before you begin the transfer process, there are a few essential steps to take to ensure a smooth and successful transition. These preparations will minimize potential issues and make the entire process faster and more efficient.
Back Up Your Old iPhone
Creating a recent backup of your old iPhone is crucial. This serves as a safety net in case anything goes wrong during the transfer. You have two main options for backing up your device: iCloud and your computer (using Finder on macOS or iTunes on Windows).
iCloud Backup: Go to Settings > [Your Name] > iCloud > iCloud Backup and tap “Back Up Now.” Ensure you’re connected to Wi-Fi for a faster and more stable connection.
Computer Backup: Connect your iPhone to your computer. Open Finder (macOS Catalina or later) or iTunes (Windows or older macOS). Select your iPhone, and then choose “Back Up Now.” You can also encrypt your backup for added security.
Update Both iPhones to the Latest iOS
Ensure both your old and new iPhones are running the latest version of iOS. This will ensure compatibility between the devices and allow you to utilize the newest features for transferring data. Go to Settings > General > Software Update and install any available updates.
Gather Essential Information
Make sure you have your Apple ID and password readily available. You’ll need them to sign in to your new iPhone and access your iCloud data. Additionally, have your Wi-Fi password handy, as you’ll need to connect both devices to the same network for some transfer methods.
Quick Start: The Easiest Transfer Method
Quick Start is Apple’s easiest method for transferring your iPhone data directly from one iPhone to another. It’s a wireless transfer, requiring both devices to be near each other. This is often the fastest and most convenient option for many users.
Initiating Quick Start
Turn on your new iPhone and place it near your old iPhone. The Quick Start screen should appear on your old iPhone, offering you the option to use your Apple ID to set up your new device. Ensure the Apple ID displayed is correct.
Authentication and Transfer
Tap “Continue” on your old iPhone. An animation will appear on your new iPhone. Hold your old iPhone over your new iPhone, positioning the animation within the viewfinder. If you can’t use the camera, you can authenticate manually.
Follow the on-screen instructions to set up Face ID or Touch ID on your new iPhone. You’ll then be prompted to transfer your data. Choose “Transfer from iPhone” to begin the wireless transfer. Keep both devices close together and connected to power until the transfer is complete.
Restoring from an iCloud Backup
If you’ve already backed up your old iPhone to iCloud, you can restore your new iPhone from that backup. This method is particularly useful if you no longer have access to your old iPhone, or if you prefer a cloud-based transfer.
Setting Up Your New iPhone
Turn on your new iPhone and follow the on-screen instructions until you reach the “Apps & Data” screen. Choose “Restore from iCloud Backup.”
Selecting Your Backup
Sign in to iCloud with your Apple ID and password. You’ll be presented with a list of available backups. Choose the most recent backup of your old iPhone.
Completing the Restoration
The restoration process will begin, downloading your data from iCloud to your new iPhone. Keep your iPhone connected to Wi-Fi and power during this process. The time it takes will depend on the size of your backup and your internet speed.
Restoring from a Computer Backup (Finder or iTunes)
If you prefer to use your computer, you can restore your new iPhone from a backup created using Finder (on macOS) or iTunes (on Windows). This method is ideal if you have a large amount of data or a slow internet connection.
Connecting Your iPhone
Connect your new iPhone to your computer using a USB cable. Open Finder (macOS Catalina or later) or iTunes (Windows or older macOS).
Initiating the Restore
Select your iPhone in Finder or iTunes. Choose “Restore Backup.”
Selecting the Backup
Choose the most recent backup of your old iPhone from the list. If the backup is encrypted, you’ll be prompted to enter the password.
Completing the Restore
The restoration process will begin, transferring your data from your computer to your new iPhone. Keep your iPhone connected to your computer until the process is complete.
Troubleshooting Common Transfer Issues
While the transfer process is generally straightforward, you might encounter some issues. Here are some common problems and their solutions:
Transfer Stuck: Ensure both devices are connected to a stable Wi-Fi network and are plugged into power. Restart both iPhones. If using Quick Start, try restoring from an iCloud or computer backup instead. Insufficient iCloud Storage: You might need to purchase additional iCloud storage if your backup exceeds the available space. Alternatively, back up to your computer. Apps Not Downloading: After the transfer, some apps may not download automatically. Go to the App Store and manually download any missing apps. Activation Lock: If you purchased a used iPhone, it might be activation locked. You’ll need the previous owner’s Apple ID and password to unlock it.
After the Transfer: Verification and Fine-Tuning
Once the transfer is complete, it’s essential to verify that all your data has been successfully transferred. Take some time to browse through your photos, contacts, messages, and apps to ensure everything is in place.
Checking Your Data
Photos: Verify that your photos and videos have been transferred correctly. Contacts: Check that all your contacts are present and accurate. Messages: Ensure your text messages and iMessages have been transferred. Apps: Confirm that all your essential apps are installed and functioning correctly.
- Settings: Review your settings to ensure they are configured as desired.
Signing Out of Your Old iPhone
After you’ve confirmed that everything has been transferred successfully, sign out of your Apple ID on your old iPhone. This will prevent unauthorized access to your data. Go to Settings > [Your Name] and scroll down to the bottom. Tap “Sign Out.” You may also want to erase all content and settings on your old iPhone before selling it or giving it away. Go to Settings > General > Transfer or Reset iPhone > Erase All Content and Settings.
Transferring your iPhone to iPhone can be a smooth and stress-free process if you follow these steps. Whether you choose Quick Start, iCloud backup, or a computer backup, understanding the process and preparing accordingly will ensure a successful transition to your new iPhone. Now go enjoy your new device!
