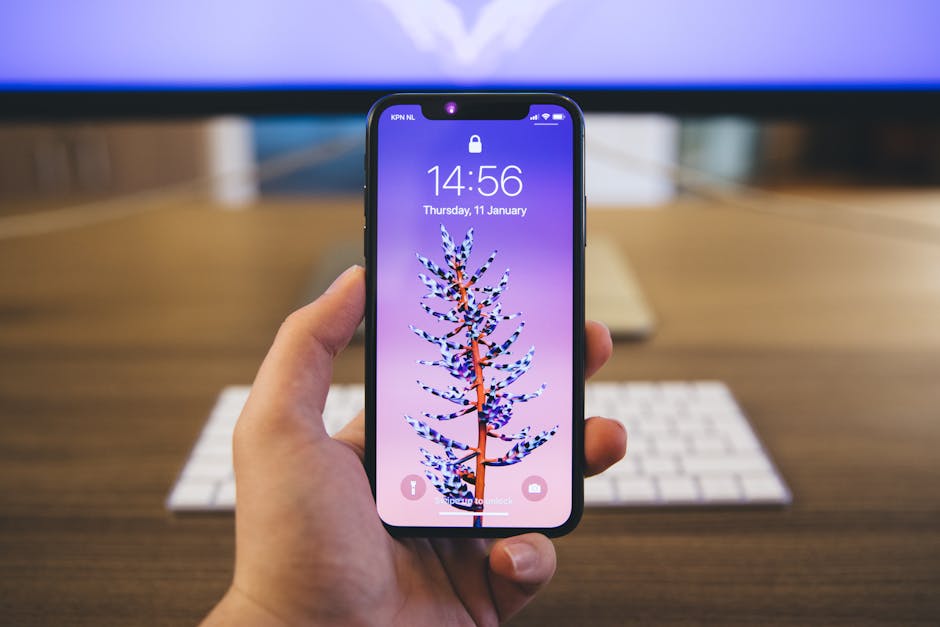
If you’re wondering how to scan on iPhone, you’ll be pleased to know that Apple has made it incredibly easy to digitize documents directly from your phone, eliminating the need for bulky scanners. This guide will walk you through several methods, ensuring you can effortlessly scan receipts, contracts, and other important papers using just your iPhone.
Using the Notes App to Scan Documents on iPhone
The Notes app offers a surprisingly robust scanning feature built right into iOS. This is often the quickest and most convenient method for most users who need to scan a document. The best part? It’s completely free and readily available on your device.
Steps to Scan Using Notes:
- Open the Notes app on your iPhone.
- Create a new note or open an existing one.
- Tap the camera icon above the keyboard.
- Select “Scan Documents.”
- Position your document in the camera’s view. The iPhone will automatically detect the edges and capture the scan. You can also manually adjust the corners if needed.
- Choose the scan mode: color, grayscale, or black and white.
- Tap “Keep Scan” after each scan.
- Once you’ve scanned all the pages, tap “Save.”
Your scanned document will now be saved as a PDF within the note. You can then share it via email, Messages, or other apps. Consider exploring [INTERNAL: iPhone Notes App Tips and Tricks] for enhanced usage.
How to Scan Using the Files App
The Files app, introduced in iOS 11, provides another convenient way to scan documents. It integrates seamlessly with iCloud Drive and other cloud storage services, making it easy to access and manage your scanned files.
Scanning with the Files App:
- Open the Files app on your iPhone.
- Navigate to the location where you want to save the scanned document (e.g., iCloud Drive, On My iPhone).
- Tap the three dots (ellipsis) in the upper-right corner of the screen.
- Select “Scan Documents.”
- Position the document in the camera’s view. The iPhone will automatically detect the edges.
- Tap the shutter button to capture the scan, or let it scan automatically.
- Adjust the corners if necessary.
- Tap “Keep Scan” for each page.
- Tap “Save” when finished.
The scanned document will be saved as a PDF in the location you specified. This makes it exceptionally easy to organize and share your files. You can learn more about file management on iOS by visiting [EXTERNAL: Apple Support – Using the Files App].
Using Third-Party Scanning Apps for iPhone
While the built-in options are excellent, several third-party scanning apps offer advanced features like OCR (Optical Character Recognition), which allows you to extract text from scanned images. These apps often provide more control over image processing and document organization.
Popular Third-Party Scanning Apps:
Adobe Scan: A free app from Adobe that offers excellent OCR capabilities and seamless integration with Adobe Document Cloud. CamScanner: A popular choice with features like batch scanning, auto-cropping, and cloud storage integration. Microsoft Lens: Similar to Adobe Scan, with integration with Microsoft Office apps and OneDrive.
Steps for using a third-party app (example using Adobe Scan):
- Download and install the Adobe Scan app from the App Store.
- Open the app and sign in with your Adobe account (or create one).
- Position the document in the camera’s view. Adobe Scan will automatically detect the edges.
- Adjust the corners if necessary.
- Tap the shutter button to capture the scan.
- The app will automatically enhance the image.
- Save the scan as a PDF.
These apps provide more advanced features and may be preferable for users who require OCR or other specialized functionalities. It’s important to review privacy policies before granting any app access to your camera and documents.
Optimizing Your iPhone Scan Quality
To ensure your scans are clear and legible, consider these tips:
Good Lighting: Scan in a well-lit environment to avoid shadows and blurry images. Natural light is ideal, but avoid direct sunlight, which can cause glare. Stable Hand: Hold your iPhone steady while scanning. If needed, use a tripod or prop your phone against a stable surface. Clean Lens: Ensure your iPhone’s camera lens is clean. Use a soft, lint-free cloth to wipe away any smudges or dirt. Correct Angle: Position your iPhone directly above the document to avoid distortion. Experiment with Modes: Try different scan modes (color, grayscale, black and white) to see which produces the best results for your specific document. Post-Processing: Many scanning apps offer post-processing tools to adjust brightness, contrast, and sharpness. Use these tools to further enhance your scans.
By following these tips, you can significantly improve the quality of your iPhone scans.
Managing and Sharing Your Scanned Documents
Once you’ve scanned your documents, you’ll want to manage and share them effectively. Here are some tips:
Naming Conventions: Use clear and descriptive names for your scanned files. This will make it easier to find them later. Folder Organization: Create folders to organize your scanned documents by category (e.g., receipts, invoices, contracts). Cloud Storage: Store your scanned documents in the cloud (e.g., iCloud Drive, Google Drive, Dropbox) for easy access and backup. Sharing Options: Share your scanned documents via email, Messages, or other apps. You can also print them directly from your iPhone. Password Protection: For sensitive documents, consider password-protecting the PDF file before sharing it.
Effective document management is crucial for keeping your scans organized and accessible. For more advanced file management techniques, consider exploring [INTERNAL: iCloud Storage Management Tips].
Troubleshooting Common Scanning Issues
Sometimes, you might encounter issues when trying to scan documents on your iPhone. Here are some common problems and their solutions:
Blurry Images: Ensure your iPhone is steady and the lighting is good. Clean the camera lens. Poor Edge Detection: Manually adjust the corners of the scan to ensure accurate edge detection. App Crashes: Restart the scanning app or your iPhone. If the problem persists, try reinstalling the app. File Saving Issues: Check your storage space. If your iPhone is full, delete unnecessary files to free up space. OCR Problems: Ensure the document is clear and legible. Try a different OCR app.
By addressing these common issues, you can ensure a smooth scanning experience. You can also find additional troubleshooting tips on [EXTERNAL: Apple Support – iPhone Troubleshooting].
Why Learn How to Scan Documents on iPhone?
Understanding how to scan documents on iPhone offers numerous benefits:
Convenience: Scan documents anytime, anywhere, without needing a traditional scanner. Paperless Office: Reduce paper clutter and create a more organized workspace. Efficiency: Quickly digitize important documents for easy sharing and storage. Cost Savings: Eliminate the need to purchase and maintain a separate scanner. Accessibility: Access your scanned documents from any device with cloud storage.
Learning how to scan on iPhone is a valuable skill that can save you time and money.
How to Scan on iPhone: Choosing the Right Method for You
The best method for scanning on your iPhone depends on your specific needs. If you need a quick and simple solution, the Notes app or Files app are excellent choices. If you require advanced features like OCR, a third-party scanning app is a better option. Consider your priorities and choose the method that best suits your workflow. Ultimately, knowing how to scan on iPhone gives you a powerful tool for document management right at your fingertips.
In conclusion, mastering how to scan on iPhone provides a convenient and efficient way to digitize documents. Whether you opt for the built-in functionality of the Notes or Files app, or prefer the advanced features of a third-party scanning app, you can easily transform paper documents into digital files. Start scanning today and experience the benefits of a paperless lifestyle!
Related Articles
- How to take pictures of the moon with iphone 2025
- How to Cancel a Subscription on Your iPhone: A Comprehensive Guide
- Best Games for iPhone: Top Picks for Every Gamer in 2024


