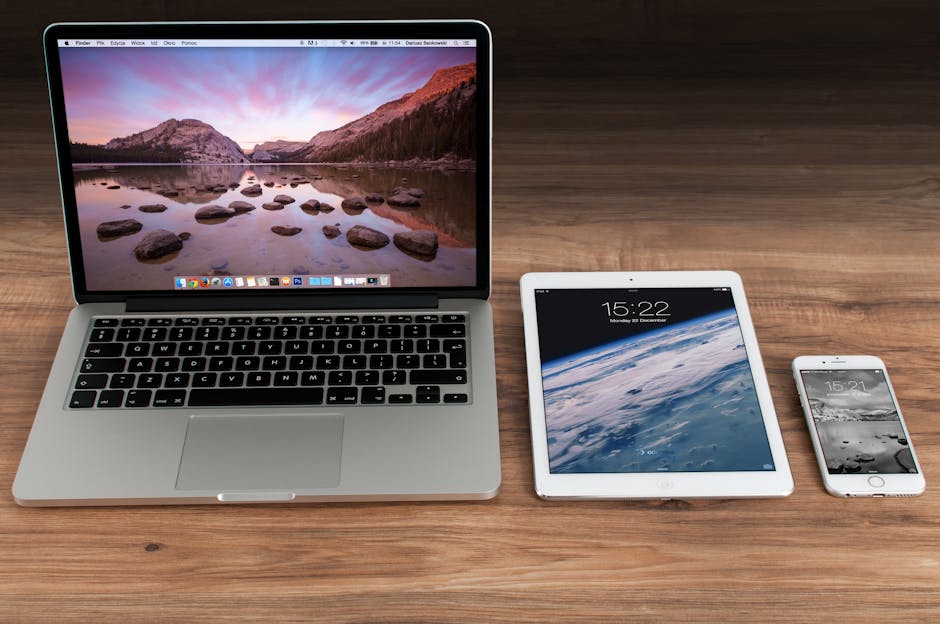
If you’re looking for instructions on how to download Google Chrome on MacBook, you’ve come to the right place; this article provides a comprehensive guide to getting Chrome installed and running smoothly on your macOS device. Chrome remains a popular web browser known for its speed, extensive extension library, and seamless integration with Google services. This guide will walk you through the process, from downloading the installer to configuring your new browser.
Preparing Your MacBook for Chrome Installation
Before you dive into the download process, it’s helpful to ensure your MacBook meets the minimum system requirements for Google Chrome. Generally, any relatively recent MacBook running a compatible version of macOS should be able to run Chrome without issues. However, checking your software is up-to-date is always a good idea.
Check macOS Version: Go to the Apple menu in the top-left corner of your screen and select “About This Mac.” Verify that your macOS version is compatible with the latest version of Chrome. Free Up Disk Space: Ensure you have enough free disk space to download and install Chrome. You can check your available storage in the “Storage” tab of the “About This Mac” window. Close Unnecessary Applications: Closing other applications can free up system resources and potentially speed up the installation process.
Downloading the Google Chrome Installer for Mac
The first step in installing Google Chrome on your MacBook is to download the installer from the official Google website. This ensures you’re getting a safe and legitimate copy of the browser.
- Open Safari (or any other browser): Your MacBook comes with Safari pre-installed. Use it (or another browser if you have one) to navigate to the Google Chrome download page.
- Navigate to the Chrome Download Page: Type “google.com/chrome” into the address bar and press Enter.
- Click the “Download Chrome” Button: You’ll see a prominent “Download Chrome” button on the page. Click this button to proceed.
- Accept the Terms of Service: A window might appear asking you to accept the Google Chrome Terms of Service. Read them carefully and click “Accept and Install” to continue.
- Choose the Correct Download: The website should automatically detect that you are using a Mac and offer the correct version of the installer. If it doesn’t, ensure you select the macOS version.
- The .dmg File Download: The Google Chrome installer, a .dmg file, will begin downloading. You can monitor the progress in your browser’s downloads window or in the Dock.
Installing Google Chrome on Your MacBook
Once the .dmg file has finished downloading, you’re ready to install Chrome on your MacBook. This process is straightforward and involves a few simple steps.
- Locate the Downloaded .dmg File: The .dmg file is usually saved in your “Downloads” folder. You can access it by clicking the Finder icon in the Dock and then selecting “Downloads” from the sidebar.
- Open the .dmg File: Double-click the “googlechrome.dmg” file to open it. This will mount the disk image and open a Finder window.
- Drag the Chrome Icon to the Applications Folder: Inside the mounted disk image, you’ll see the Google Chrome application icon. Drag this icon to the “Applications” folder shortcut that’s also in the window. This action copies the Chrome application to your Applications folder, making it available for use.
- Eject the Disk Image: After dragging the icon, eject the disk image by right-clicking on the “Google Chrome” icon on your desktop and selecting “Eject.” You can also eject it from the Finder sidebar.
- Open Google Chrome: Open the “Applications” folder (either from the Finder sidebar or by pressing Command+Shift+A in Finder). Locate the Google Chrome icon and double-click it to launch the browser.
Configuring Google Chrome After Installation
The first time you launch Chrome, you’ll be prompted to configure some settings. These settings allow you to personalize your browsing experience.
- Security Warning: The first time you open Chrome, macOS will display a security warning asking if you’re sure you want to open an application downloaded from the internet. Click “Open” to proceed.
- Set as Default Browser (Optional): Chrome will ask if you want to set it as your default browser. If you want Chrome to be the browser that opens when you click on web links, click “Set as default.” Otherwise, click “Not now.”
- Sign In to Your Google Account (Optional): You can sign in to your Google Account to sync your bookmarks, history, passwords, and other settings across all your devices. If you don’t have an account, you can create one.
- Customize Chrome: Take some time to explore Chrome’s settings and customize it to your liking. You can change the theme, manage your extensions, adjust your privacy settings, and more.
Troubleshooting Common Installation Issues
Sometimes, you might encounter issues while trying to install Google Chrome on your MacBook. Here are some common problems and their solutions:
Corrupted Download: If the .dmg file is corrupted, the installation process might fail. Try downloading the installer again from the official Google website. Insufficient Disk Space: Make sure you have enough free disk space on your MacBook. Delete unnecessary files or applications to free up space. Conflicting Software: Some software might conflict with Chrome and prevent it from installing properly. Try temporarily disabling any antivirus software or other security applications. Permissions Issues: If you don’t have the necessary permissions to install software, you might need to contact your system administrator. Chrome Won’t Open: If Chrome installs but won’t open, try restarting your MacBook. If that doesn’t work, try reinstalling Chrome.
Keeping Chrome Updated on Your MacBook
To ensure you have the latest features and security updates, it’s important to keep Chrome updated on your MacBook. Chrome typically updates automatically in the background.
- Automatic Updates: Chrome usually checks for updates automatically and installs them when you restart the browser.
- Manual Updates: You can also manually check for updates by clicking the three vertical dots in the top-right corner of Chrome, selecting “Help,” and then “About Google Chrome.” Chrome will then check for updates and install them if available.
Why Choose Google Chrome for Your MacBook?
Many users prefer Google Chrome as their primary web browser on their MacBooks for several reasons:
Speed and Performance: Chrome is known for its speed and performance, especially when handling complex web applications. Extensive Extension Library: Chrome offers a vast library of extensions that can add functionality to the browser. You can find extensions for everything from ad blocking to password management. Google Account Integration: Chrome seamlessly integrates with your Google Account, allowing you to sync your data across all your devices. Developer Tools: Chrome provides powerful developer tools that are useful for web developers and designers. Cross-Platform Compatibility: Chrome is available on multiple platforms, including Windows, macOS, Linux, Android, and iOS, making it easy to sync your data across all your devices.
Alternatives to Google Chrome
While Chrome is a popular choice, several other web browsers are available for macOS. Some popular alternatives include:
Safari: Safari is the default web browser on macOS and is known for its speed and privacy features. Mozilla Firefox: Firefox is an open-source web browser that’s known for its privacy features and customization options. Brave Browser: Brave is a privacy-focused web browser that blocks ads and trackers by default.
- Microsoft Edge: Edge is a modern web browser based on the same Chromium engine as Chrome, offering good performance and compatibility.
Conclusion: Enjoying Google Chrome on Your MacBook
Following these steps, you should now have Google Chrome successfully downloaded and installed on your MacBook. Remember to keep Chrome updated to ensure you have the latest features and security protections. Now that you know how to download Google Chrome on MacBook, you can explore its features, customize it to your liking, and enjoy a fast and efficient browsing experience. If you encounter any issues, refer back to the troubleshooting tips provided in this guide or consult the Google Chrome help center.
Related Articles
- How to Turn Off iPhone: A Comprehensive Guide
- How to Find My iPhone: A Comprehensive Guide to Locating Your Lost Device
- How to Restore a Tab: A Comprehensive Guide to Recovering Lost Browsing Sessions


